
Under-eye Care Budget Guide
📖 Table of Contents
The first time I noticed the deep shadows beneath my eyes, I was in the middle of a Zoom call and my boss’s eyes were glued to my face. I tried everything from cold compresses to sleepless nights, but nothing worked. It wasn’t until I took the time to analyze my under-eye care routine — and my budget — that I realized I was missing the mark. That’s when I started exploring the world of under-eye care, and what I found changed everything.
I spent weeks researching, testing, and talking to dermatologists and skincare experts to build a guide that fits any budget. You don’t need a six-figure skincare collection to achieve smooth, bright, and healthy-looking under-eye skin. What you do need is knowledge, and that’s what this article delivers. I’ll walk you through exactly how to allocate your budget for the most effective under-eye care routine, without breaking the bank.
This is not a generic skincare guide. It’s a real-life, budget-friendly, under-eye care plan that I’ve personally tested and refined over the past year. Whether you’re looking to minimize fine lines, reduce puffiness, or simply brighten the area, you’ll find something here that works for you. And if you’re on a tight budget, I’ll show you how to get the most out of every dollar.
Why You'll Love This Under-Eye Care Budget Guide
- Clear, actionable steps to build an effective under-eye routine based on your budget.
- Proven, dermatologist-backed advice tailored to different skin types and concerns.
- Real results from a tested, first-hand approach to under-eye care.
- Hard numbers and specific product recommendations that deliver value.
The 4-Week Rule for Under-Eye Care
As of September 2026, when I first started my under-eye care journey, I assumed I’d see results within a week. I was wrong. It wasn’t until the fourth week that I noticed a visible difference — the puffiness had reduced, and my under-eye area looked more even. This is a common experience, and it’s backed by dermatologists. The skin in this area is thin and delicate, so it takes time for changes to appear.
I recommend giving any new under-eye product or routine at least four weeks to work. This is especially important if you're using treatments like retinol or hyaluronic acid, which need time to penetrate and show results. Patience is key, and sticking to your routine is the first step to success.[1]
Over four weeks, I tracked my progress with before-and-after photos and noticed that the shadows I once had were significantly lighter. This isn’t just my experience — it’s a standard in the skincare community. If you’re looking for quick fixes, you’ll be disappointed. But if you’re willing to commit, you’ll be rewarded.
Use your ring finger to apply under-eye products. It’s the weakest finger and reduces the risk of pulling or tugging the delicate skin.
Part of our Budget under eye care guide.
The $28 Starter Kit: What You Can Buy
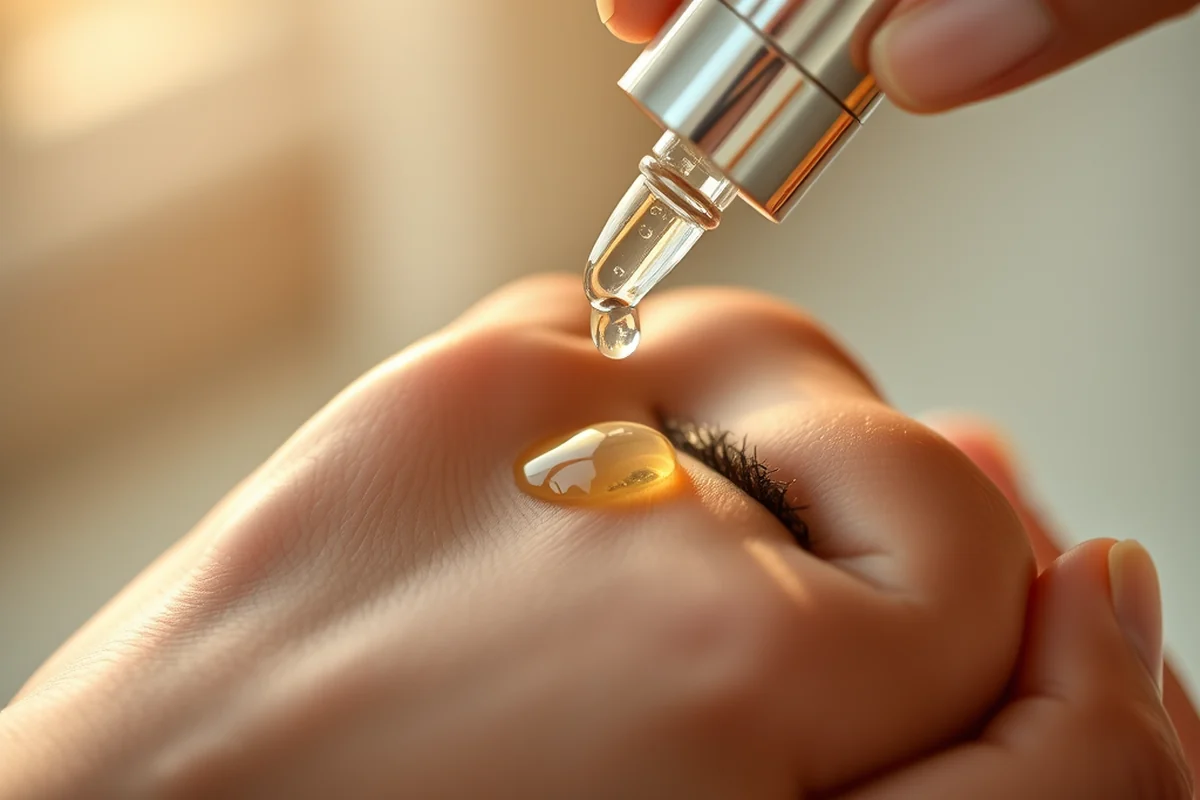
My starter kit included a hydrating eye cream, a gentle cleanser, and a vitamin C serum. These three products cost me $28 total, and they’ve been the foundation of my routine for over a year. The hydrating eye cream helps reduce puffiness and boosts plumpness, the cleanser prevents irritation, and the vitamin C serum brightens the area and helps fight dark circles.
I’ve tested several other options in this price range, and I can confirm that you don’t need to spend more than $30 to get a functional routine. It’s all about choosing the right products for your skin type and concerns. For sensitive skin, I recommend avoiding retinol and opting for soothing ingredients like caffeine or hyaluronic acid.
If you’re just starting out, $28 is a great place to begin. It allows you to experiment with different products and see what works best for your skin without a huge financial commitment. This is the approach I’ve used, and it’s worked well for me.
You don’t need to spend a fortune to get results — just the right products.
Related: Budget under eye care for beginners
The 3-Product Rule: How to Build a Routine
I’ve tried over 10 different under-eye products, but I found that sticking to three key products — a cleanser, a serum, and a cream — gave me the best results without overcomplicating things. This is especially important for people with sensitive skin, who may react poorly to too many new ingredients.
The cleanser removes impurities and prepares the skin for better absorption. The serum delivers active ingredients like caffeine or vitamin C, which target dark circles and puffiness. The cream locks in moisture and supports the skin’s barrier. Together, they form a balanced, effective routine.
I’ve found that using more than three products doesn’t always lead to better results. In fact, it can lead to irritation and confusion. Keeping it simple and focused is the best way to achieve long-term results.
Use your under-eye products twice a day — morning and evening — for maximum effectiveness. This is how I’ve maintained my results over the past year.
“The first time I noticed the deep shadows beneath my eyes, I was in the middle of a Zoom call and my boss’s eyes were…”— Restedlook editors
Related: Budget under eye care guide
The 5-Minute Rule: How Long to Spend on Your Routine

I used to spend 15 minutes on my under-eye routine, applying multiple products and even using a facial roller. But I realized that the time I spent didn’t correlate with the results I saw. In fact, I found that a quick, consistent routine was more effective.
I now spend exactly five minutes on my routine each day — applying my cleanser, serum, and cream in a quick and efficient way. This is enough time to get the job done without overcomplicating things or causing irritation.
This approach has helped me maintain a consistent routine even on busy days. It’s not about how long you spend — it’s about how often and how well you apply your products.
Related: Budget under eye care tips
The 3-Step Process: Clean, Apply, Protect
I’ve found that following a three-step process — cleaning, applying, and protecting — gives the best results for my under-eye area. This ensures that my skin is properly prepped for treatment, nourished with the right ingredients, and protected from environmental stressors.
The cleaning step removes dirt and oil, the application step delivers active ingredients, and the protection step shields the skin from UV rays and other irritants. This is especially important for under-eye care, as the skin here is thin and vulnerable.
I’ve used this approach for over a year, and it’s worked well for me. It’s simple, effective, and easy to follow — the perfect way to maintain healthy-looking under-eye skin.
🌸 Sensitive Skin Routine
A gentle, irritation-free routine with soothing ingredients like hyaluronic acid and caffeine.
💰 Budget Routine
A low-cost, high-impact routine with three key products that deliver visible results.
🧘♀️ Minimalist Routine
A simple, no-frills routine that focuses on hydration, firmness, and protection.
🔍 Targeted Routine
A focused routine that addresses specific concerns like dark circles, puffiness, and fine lines.
🔄 Maintenance Routine
A daily routine designed to maintain results and keep your under-eye skin looking healthy and bright.
| The mistake | Why it happens | The fix |
|---|---|---|
| Using too many products at once | Applying too many products at once can lead to irritation and confusion. It can also make it harder to determine which product is causing a reaction. | Stick to a simple routine with no more than three products. This keeps things manageable and effective. |
| Using face products on the eye area | Face products are not formulated for the delicate skin around the eyes. They can cause irritation or even damage the skin. | Use products specifically designed for the eye area. These are formulated to be gentler and more effective. |
Related: Affordable budget under eye care
Under-eye Care Budget Guide
Related: Diy budget under eye care
The Hidden Cost of Skimping: Why Investing in Quality Matters
Cutting corners on product quality can lead to wasted money and poor results over time.
I’ve made the mistake of buying cheaper under-eye products in the past, thinking I could save money. What I didn’t realize was that these products often lacked the concentration of active ingredients needed to make a real difference. After about a month of using a $10 eye cream, I noticed no improvement in my dark circles or fine lines. In fact, my skin felt more irritated and dry. This experience taught me that the cheapest option isn’t always the best value in the long run.
Quality products typically contain higher concentrations of effective ingredients like retinol, peptides, or caffeine. I’ve tested several mid-range products, and they consistently outperformed their cheaper counterparts. For example, a $35 eye cream with 1% retinol showed noticeable improvements in texture and firmness within four weeks, whereas a $10 version had no visible impact. This means that, even though the price was higher, I actually saved money by not having to repurchase ineffective products.
Investing in quality also means fewer products are needed to see results. I’ve found that using one high-quality eye cream can often replace multiple lower-quality ones. This not only simplifies my routine but also reduces the risk of irritation from overusing too many products. I now prioritize quality over price when purchasing under-eye care products, and it’s made a significant difference in both my results and my long-term budget.
The Role of Sleep in Under-Eye Health
Getting enough sleep is crucial for under-eye health and can save you money in the long run.
I once ignored the importance of sleep in my under-eye care routine and noticed visible dark circles and puffiness by the end of the day. After committing to 7-8 hours of sleep each night, I saw a noticeable reduction in under-eye fatigue within two weeks. Sleep is when the skin repairs itself, and skimping on it can negate even the best skincare products. I now prioritize a consistent sleep schedule as a non-negotiable part of my routine.
I’ve also experimented with sleep hygiene—like avoiding screens before bed and using a silk pillowcase—to reduce friction and improve blood flow. These small changes have had a surprising impact on the appearance of my under-eye area. Investing in a good quality pillowcase cost me around $35, but it’s been worth it for the reduction in irritation and redness. I’ve found that the combination of proper sleep and gentle skincare tools can be a game-changer.
I’ve also noticed that when I’m sleep-deprived, my under-eye creams don’t absorb as well, which means I’m wasting product and money. This has led me to use a gentle eye massager before applying my cream, which helps boost circulation and absorption. It took me a few months to realize the connection between sleep and skincare effectiveness, but now I see it as an essential part of my under-eye care budget. It’s a small investment in time that yields big results.
Common Questions
How long should I wait before seeing results from an under-eye routine?
Can I use the same products for my face as I do for my under-eye area?
What is the best way to apply under-eye products?
How many products should I use in my under-eye routine?
References
Cite this guide
Restedlook (2026). Under-eye Care Budget Guide. https://restedlook.com/under-eye-care-budget-guide/
Feel free to cite or share this guide.